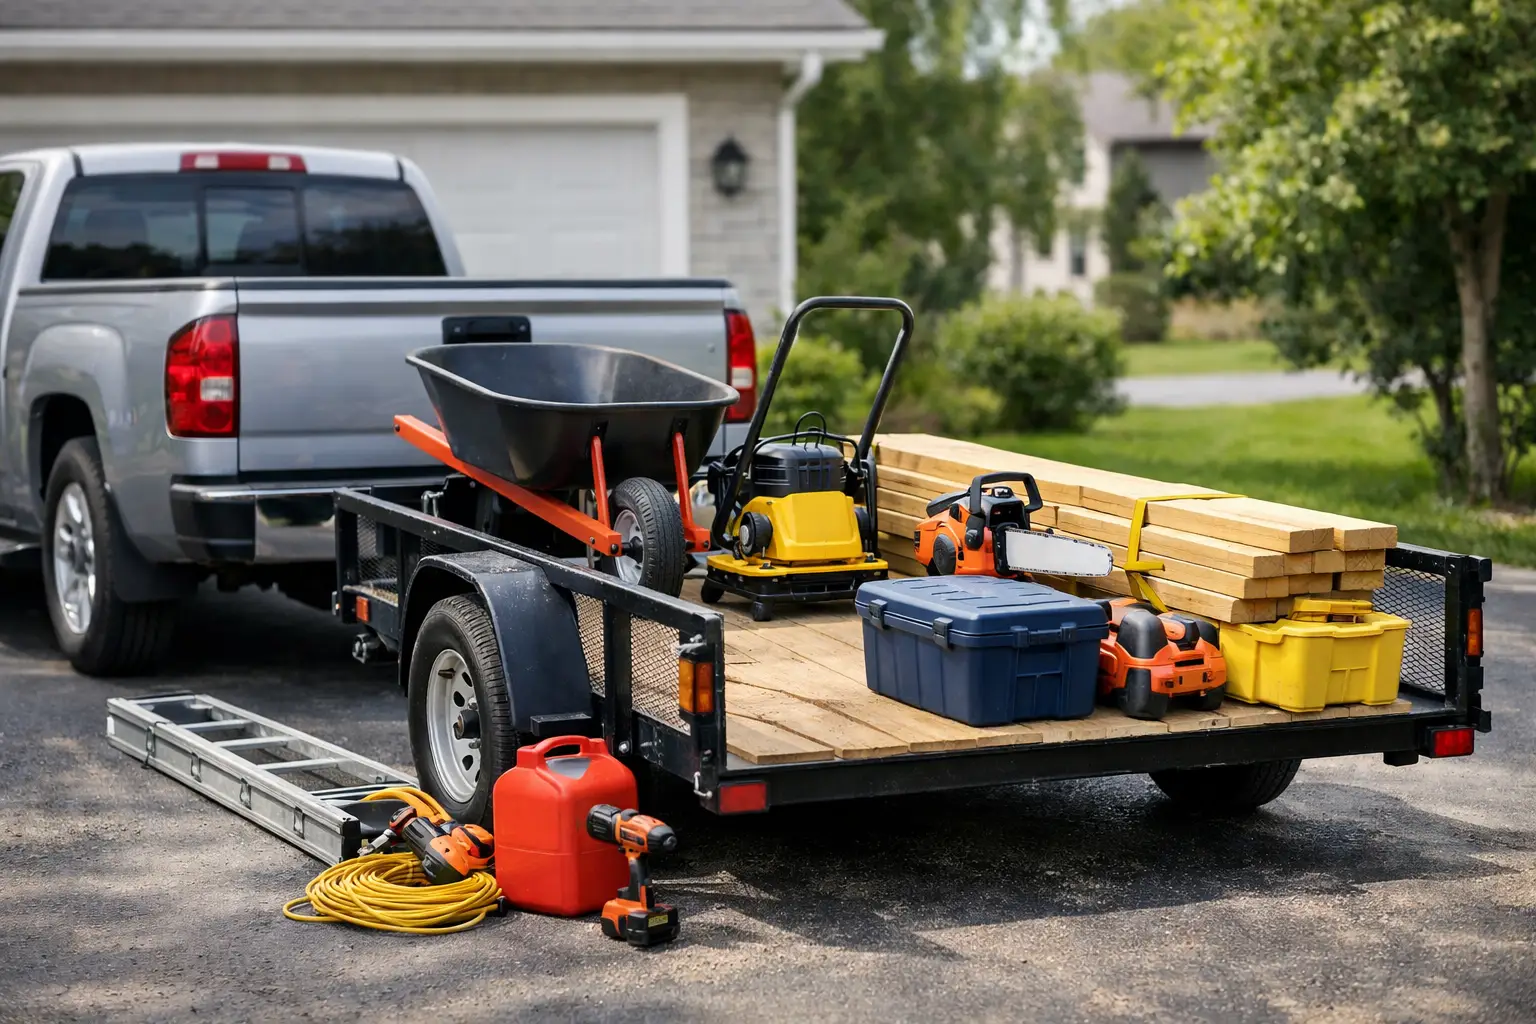


A bathroom remodel can fill a driveway faster than most homeowners expect. Old cabinets, broken tile, drywall, packaging, lumber offcuts, and a few surprise repairs behind the wall all need to go somewhere. This home renovation hauling case study follows a representative Verde Valley DIY project where a homeowner used a rental trailer to keep the work moving without paying for multiple small pickups or letting a debris pile take over the property.
The job was not a full-house renovation. That was the point. Even a modest remodel creates enough material movement to become its own project. A practical hauling plan made the difference between a clean worksite and a month of loading the pickup bed a little at a time.
The Project: A Small Remodel With a Big Hauling Need
The homeowner was updating an older bathroom and adjacent laundry area. The plan included removing a vanity, toilet, flooring, drywall sections, a worn exterior door, and several shelves. New materials had to be picked up from local suppliers, while demolition debris had to make its way to the appropriate disposal site.
At first, the homeowner planned to handle it with a standard pickup. That can work for a few bags of debris or a short run for lumber. But it became clear that the job involved bulky, awkward loads as well as more weight than a pickup bed should carry in one trip. Repeated loading and unloading would also eat into the weekends set aside for the renovation.
The goal was simple: make fewer trips, keep materials dry and secure, and clear demolition debris before it became a safety issue. Renting a trailer for the main demolition and material runs was a better fit than trying to own a trailer for a job that would last only a few days.
Planning the Haul Before Demolition Starts
The homeowner made one smart decision before swinging a hammer: they separated the hauling work into two phases. The first phase was demolition and disposal. The second was picking up replacement materials, including drywall, lumber, flooring, and the new vanity.
That separation matters because not every load belongs together. Clean building materials should not ride with old drywall, broken tile, or trash. It also helps prevent a common renovation mistake: filling the trailer with debris, then realizing there is no room to bring home the materials needed for the next step.
The homeowner chose an open utility-style trailer sized for a moderate home project. It gave them more usable space than a truck bed and made loading bulky items easier. For a larger renovation, a heavier-duty equipment trailer or dump option may make more sense, especially when concrete, dirt, roofing, or dense demolition waste is involved. The right choice depends on the trailer’s capacity, the tow vehicle’s rating, and the actual weight of the load – not just how much space the pile takes up.
Before pickup, the homeowner confirmed that the tow vehicle had the correct hitch, electrical connection, and working lights. They also checked local disposal rules. Some sites separate construction waste from metal, appliances, paint, chemicals, or yard debris. Knowing that in advance prevents an unpleasant surprise at the scale house.
The First Haul: Clearing Out the Old Material
Demolition started on a Saturday morning. The crew was small: the homeowner, a family member, and one friend. Instead of throwing everything into a single heap, they staged debris by type near the trailer. Metal shelving and an old door were set aside. Wood was stacked together. Broken drywall and tile went into heavy-duty bags and bins before being loaded.
This approach kept the load more stable and made unloading faster. Loose debris can shift, blow out, or create a mess on the road. Heavy pieces went low and toward the front of the trailer, with weight distributed evenly from side to side. Lighter material was placed on top only after the heavy pieces were secure.
Tie-downs were not optional. The homeowner used straps to secure the door, shelving, and larger pieces, then covered lighter debris with a tarp. Arizona roads and highway speeds can turn one loose scrap of material into a real hazard. A load that looks fine in the driveway still needs to stay put through turns, bumps, wind, and sudden braking.
The first dump run removed far more than would have fit safely in the pickup bed. Just as important, it cleared room around the house for the actual renovation work. The crew could walk safely, store new materials properly, and avoid mixing clean supplies with demolition waste.
The Second Haul: Bringing New Materials Home
Once the demolition debris was gone, the trailer changed jobs. The homeowner used it for a coordinated pickup of lumber, drywall, underlayment, and the new vanity. Instead of making separate trips to different stores with a crowded pickup bed, they planned the order of stops and loaded materials based on size and weight.
Long lumber went on first and was tied down at several points. Drywall was kept flat, supported, and protected from moisture. The vanity was loaded last so it could be unloaded first at the house. This is a small detail, but it saves time. Nobody wants to unload half a trailer of lumber just to reach one boxed fixture.
There was a trade-off. The homeowner had to take time to load carefully and drive more conservatively than usual. A trailer changes braking distance, turning radius, and visibility. But that extra care was still faster than multiple trips, and it reduced the chance of damaging expensive new materials.
For first-time renters, this is where direct local support helps. A team that actually picks up the phone can help answer basic questions about trailer fit, hookup, and what type of haul the equipment is suited for. There is no benefit in renting more trailer than the job needs, but renting too little can cost more in extra trips and lost time.
What the Homeowner Saved
The biggest savings was not just money. It was time and momentum. With the trailer available for the key hauling days, the crew avoided a cycle of stop-and-go errands that can drag a simple remodel into several extra weekends.
They also avoided the cost and scheduling uncertainty of arranging several junk pickups. A dumpster can be the right answer for a major gut renovation or a project with nonstop debris. But for a smaller remodel where the homeowner can make one or two disposal runs, a trailer rental can offer more control. You load it on your schedule, haul when ready, and use it again for material pickup.
The project stayed cleaner, too. That matters around a home, especially when kids, pets, neighbors, or limited driveway space are involved. A contained haul plan keeps sharp debris, nails, and broken material from sitting around longer than necessary.
What This Home Renovation Hauling Case Study Teaches
The lesson from this home renovation hauling case study is straightforward: hauling should be planned as part of the remodel, not treated as an afterthought. Estimate what is coming out, what is coming in, and how many trips each option will require. Then choose equipment that matches the heaviest expected load and the capability of the tow vehicle.
It also pays to leave a little room in the schedule. Renovations uncover surprises. A damaged section of subfloor, extra drywall removal, or an old cabinet that comes apart in pieces can add to the load quickly. Booking a trailer for enough time to handle the unexpected is often cheaper than rushing the job or making unsafe loads.
For homeowners around Cottonwood, Clarkdale, Camp Verde, and the wider Verde Valley, a rental trailer can be a practical tool for getting a renovation across the finish line. Monsoon Trailer Rental provides dependable equipment, fair local service, and a straightforward rental process for jobs that need more hauling capacity than a pickup bed can offer.
Before you start tearing out that old floor or loading new cabinets, make the hauling plan. A clean driveway, a secure load, and one less weekend spent making dump runs can make the whole renovation feel more manageable.