
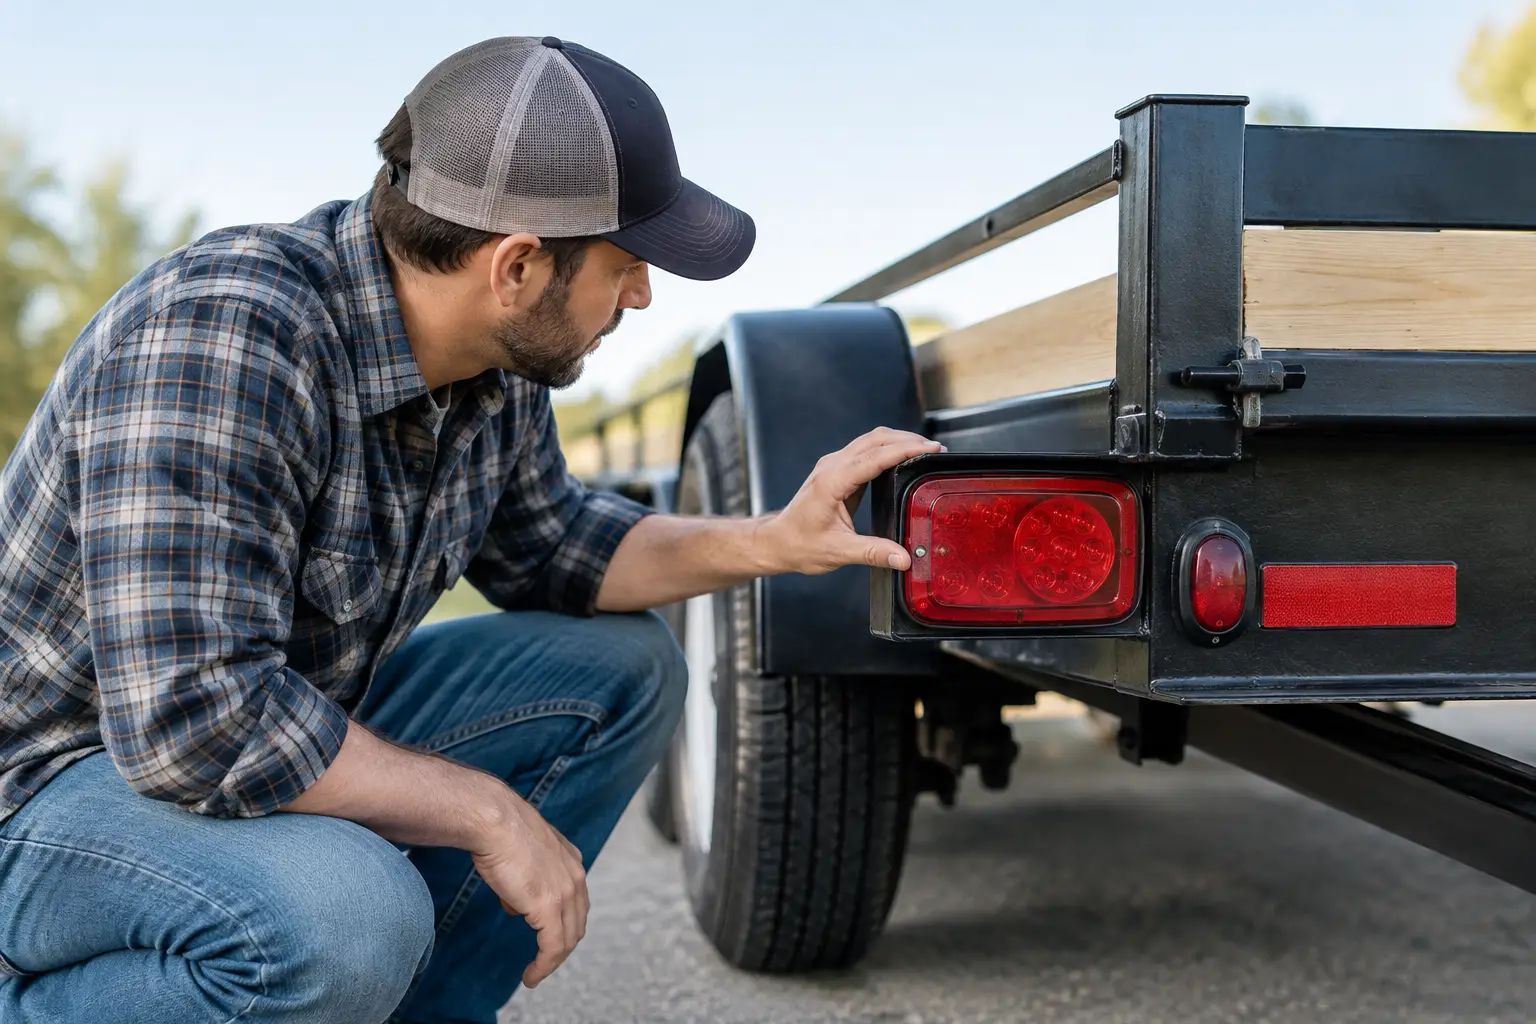
A trailer can be loaded right, strapped down tight, and still cause trouble if the lights do not work. Before heading out with a car hauler, utility trailer, or equipment trailer, take a few minutes to inspect trailer lights. It is one of the quickest ways to avoid a roadside stop, a close call after dark, or a driver behind you having no clue what you are doing.
A light check matters on every trip, but especially around the Verde Valley. Early morning jobs, monsoon weather, winding roads, and highway traffic leave little room for guessing. You want your brake lights, turn signals, and running lights doing their job before you leave the driveway or pickup location.
Why trailer lights deserve a real check
Trailer lights do more than help you avoid a ticket. They tell other drivers when you are slowing down, turning, changing lanes, or taking up more space than a regular pickup. If one side is dark or a brake light does not come on, the driver behind you may react too late.
Lights also reveal problems that may get worse on the road. A loose connector can work its way free. A weak ground may cause lights to flicker when you hit a bump. A rubbed wire can short out after miles of vibration. Catching those issues while parked is easier than troubleshooting them on the shoulder with a loaded trailer behind you.
Do not assume the lights are good because they worked on the last trip. Plugs collect dust and moisture, cords get dragged, and a different tow vehicle can expose a connection issue that was not obvious before.
How to inspect trailer lights before you haul
Park on level ground where you can safely walk around the trailer. Set the tow vehicle in park, apply the parking brake, and make sure the trailer is properly coupled before testing anything. If you are using a rental trailer, do this check during pickup, while help is still close by if a question comes up.
Start with the plug and wiring harness
Look at the trailer connector before plugging it into the tow vehicle. The pins should be reasonably clean, straight, and free of heavy corrosion. A little road dust is normal. Green corrosion, bent contacts, cracked plastic, or a connector that will not stay seated is not.
Follow the wiring harness as far as you can. Check for exposed wire, crushed sections, loose clips, or places where the wire could rub against metal. Pay attention near the tongue, axle area, and rear of the trailer. Those spots see the most movement, road debris, and wear.
Plug the connector in firmly. If it feels loose, do not rely on tape as a permanent fix. A loose plug can disconnect when you turn, hit a pothole, or pull through rough ground. Make sure the cord has enough slack for turns but is not hanging low enough to drag.
Test running lights first
Turn on the tow vehicle headlights or parking lights. Walk to the back of the trailer and check both sides. The running lights should come on evenly, including side markers and any clearance lights the trailer has.
A single dim light often points to a poor ground, corrosion, or a failing bulb. If several lights are out, start at the connector or fuse rather than replacing bulbs one at a time. When all lights are dark, the problem is usually upstream.
Check the lens covers while the lights are on. A cracked lens can let moisture in, and moisture is hard on bulbs and electrical connections. Dirt on a lens may not stop the light from working, but it can make it less visible in rain, dust, or bright Arizona sun.
Check brake lights and turn signals
Next, test both brake lights and both turn signals. This takes two people unless you have a helper tool, a phone camera positioned behind the trailer, or a vehicle with a built-in light test feature. One person operates the truck while the other watches from a safe distance behind the trailer.
Press the brake pedal and confirm both rear lights brighten. Then test the left and right turn signals separately. The correct side should flash at a steady pace. On many trailers, the brake and turn functions share the same rear light, so make sure each function works as it should.
Fast flashing on the tow vehicle dash can mean a bulb is out or the vehicle is not detecting the expected electrical load. It is worth investigating before you leave. A signal that works on the truck but not on the trailer is not enough for a safe haul.
Do not forget reverse and auxiliary functions
Not every trailer uses the same connector or lighting setup. Depending on the trailer and tow vehicle, you may have reverse lights, electric brakes, a breakaway battery, or an auxiliary power circuit. Check the functions that apply to your setup.
If you are pulling a car hauler with electric brakes, the brake controller should recognize the trailer connection. Follow the trailer and vehicle instructions for a low-speed brake test in a clear area. Trailer brakes should assist the tow vehicle, not lock up or feel like they are doing nothing.
The breakaway cable is separate from the light system, but it belongs in your pre-haul walkaround. Make sure it is connected to the tow vehicle independently of the safety chains. It should not be wrapped around the hitch or attached to a removable part of the setup.
What common light problems usually mean
A little troubleshooting can save time, but do not turn a simple pre-trip check into a repair project if you are not comfortable with electrical work. Start with the obvious and work outward.
If no trailer lights work, check that the plug is fully seated, inspect the tow vehicle fuse for trailer lights, and look for corrosion in the connector. If lights work only sometimes, suspect a loose plug, damaged wire, or weak ground connection. Flickering lights that change when you move the harness are a strong clue that a wire or connector needs attention.
When only one light is out, inspect that lens, bulb, socket, and nearby wiring. LED lights can fail differently than old-style bulbs, so a light may need a full fixture replacement rather than just a bulb. If one side is dim or behaves strangely when another function is used, a bad ground is often the culprit.
Never drive with a known lighting problem just because the trip is short. A run across Cottonwood, Camp Verde, or Sedona can still include traffic, low light, and drivers who need clear signals from you.
Make the light check part of loading up
The best time to inspect lights is after the trailer is connected and before the cargo is fully committed to the trip. That means coupling the trailer, connecting the chains and breakaway cable, plugging in the wiring, and testing lights before you pull out.
After loading, do one final walkaround. Verify that the load is secured, ramps or gates are latched, tires look properly inflated, and no straps or loose material are blocking a light. A tall load, equipment bucket, or tarp can hide a rear signal even when the light itself works fine.
If you are renting, report a light issue right away instead of trying to work around it. A dependable local rental outfit should make sure the trailer is ready to haul and answer the phone when you need a straight answer. At Monsoon Trailer Rental, that kind of practical check is part of getting customers on the road with the right equipment for the job.
A few minutes spent checking your trailer lights is cheap insurance. Do it before every haul, keep the connector clean, and fix small problems while they are still small. The goal is simple: everyone around your trailer should be able to see exactly what you plan to do next.